
The video above just shows an example of how I did texturing for my landscape using brush painting in "Sculpt Mode." I was following the tutorial for creating textured terrains here if you'd like to learn more. The video is part of a two part series and runs a little long so I'll be posting just the basic commands of what I used to create what I came up with in Blender. Please see below for the quick command list if you'd like to create something like this!
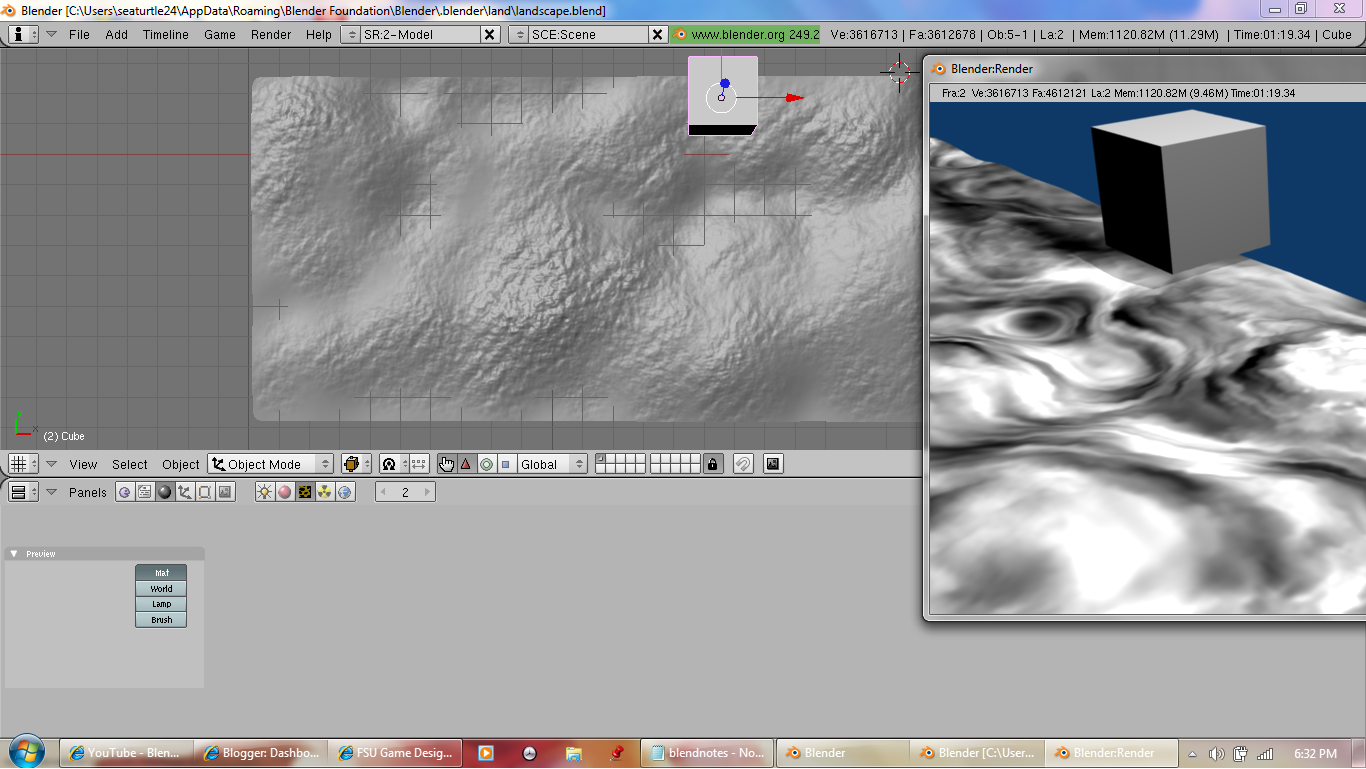
This is a quick first render of my terrain, unfortunately my computer crashed(multiple times) after I went back to object mode and after that it was hard to even get it to show the render(it took about 5-10 minutes to give the rendered image).
Tip 1: If you have a slow computer like mine, a graphics card might help when using Blender.

This is the final version's screenshot. I was having a little trouble figuring out the camera so the render is better on the first screenshot but this one has more work done. It is supposed to be a house on a hill of sand. I created a sword for the object in another Blender file but I accidentally got into animation mode and told it to save the file but later when I checked there was no file. Ah well, that just proves, save and save a lot! Also control z(undo) is your friend with Blender!
Tip 2: Save Blender files often to avoid losing them!
Tip 3: Use control-z to undo the last action.
Quick Command List:
----------------------------------
These are the commands for the terrain only, not the house.
1.) type x >> erase selected object
2.) spacebar(opens the default "add" menu)
3.) s [scale]
4.) w >> subdivide multi [20 cuts]
5.) sx [scale x-axis] <-- used to spread out the plane
6.) sy [scale y-axis] <-- ""
7.) edge select mode [line square button near picture & triangle]
8.) control z [undo] <-- if you clicked the wrong line
9.) subdivide to get squares
10.) tab [object mode <--> edit mode]
11.) panels >> sphere tool for shading
12.) pink sphere tool [materials] >> add new
13.) square button next to pink sphere button [texture]
14.) sculpt mode >> edit [paper with 4 dots]
15.) Top view [numpad 7]
16.) sculpt tab >> texture tab >> click empty box >>
17.) increase strength >> paint with brush
18.) texture tab >> default
19.) sculpt tab >> raise size <-- to raise up the terrain
20.) sculpt tab >> shape >> sub <-- creates valleys
21.) resize brush smaller
22.) object mode
23.) multires tab >> decrease levels
24.) space >> mesh >> cube
Estimated working time: 4 hours, 30 minutes(about half of that was waiting for my computer to catch up)
excellent post!
ReplyDeletegood job on the writeup as well